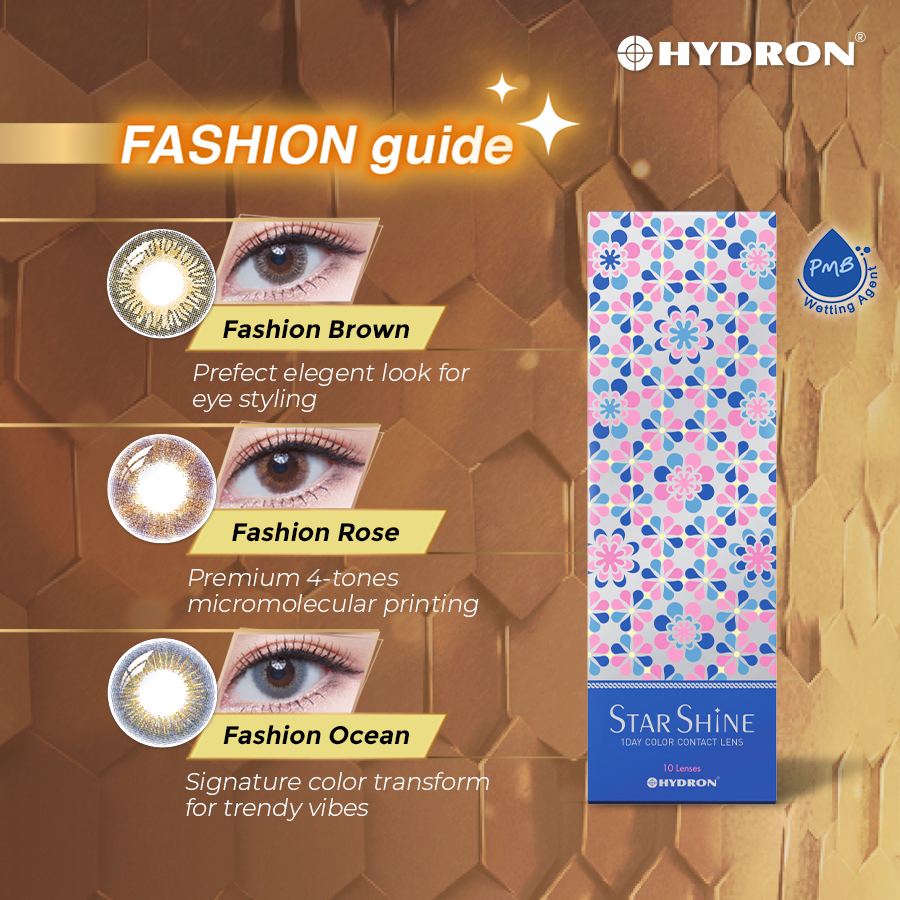
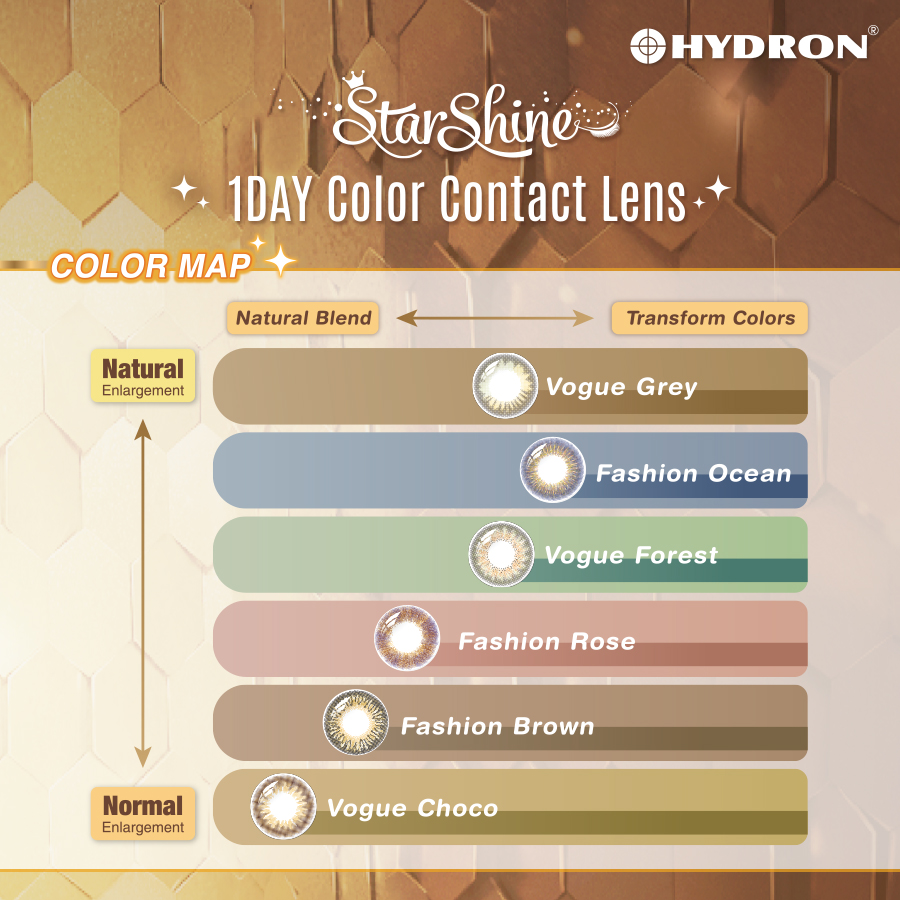
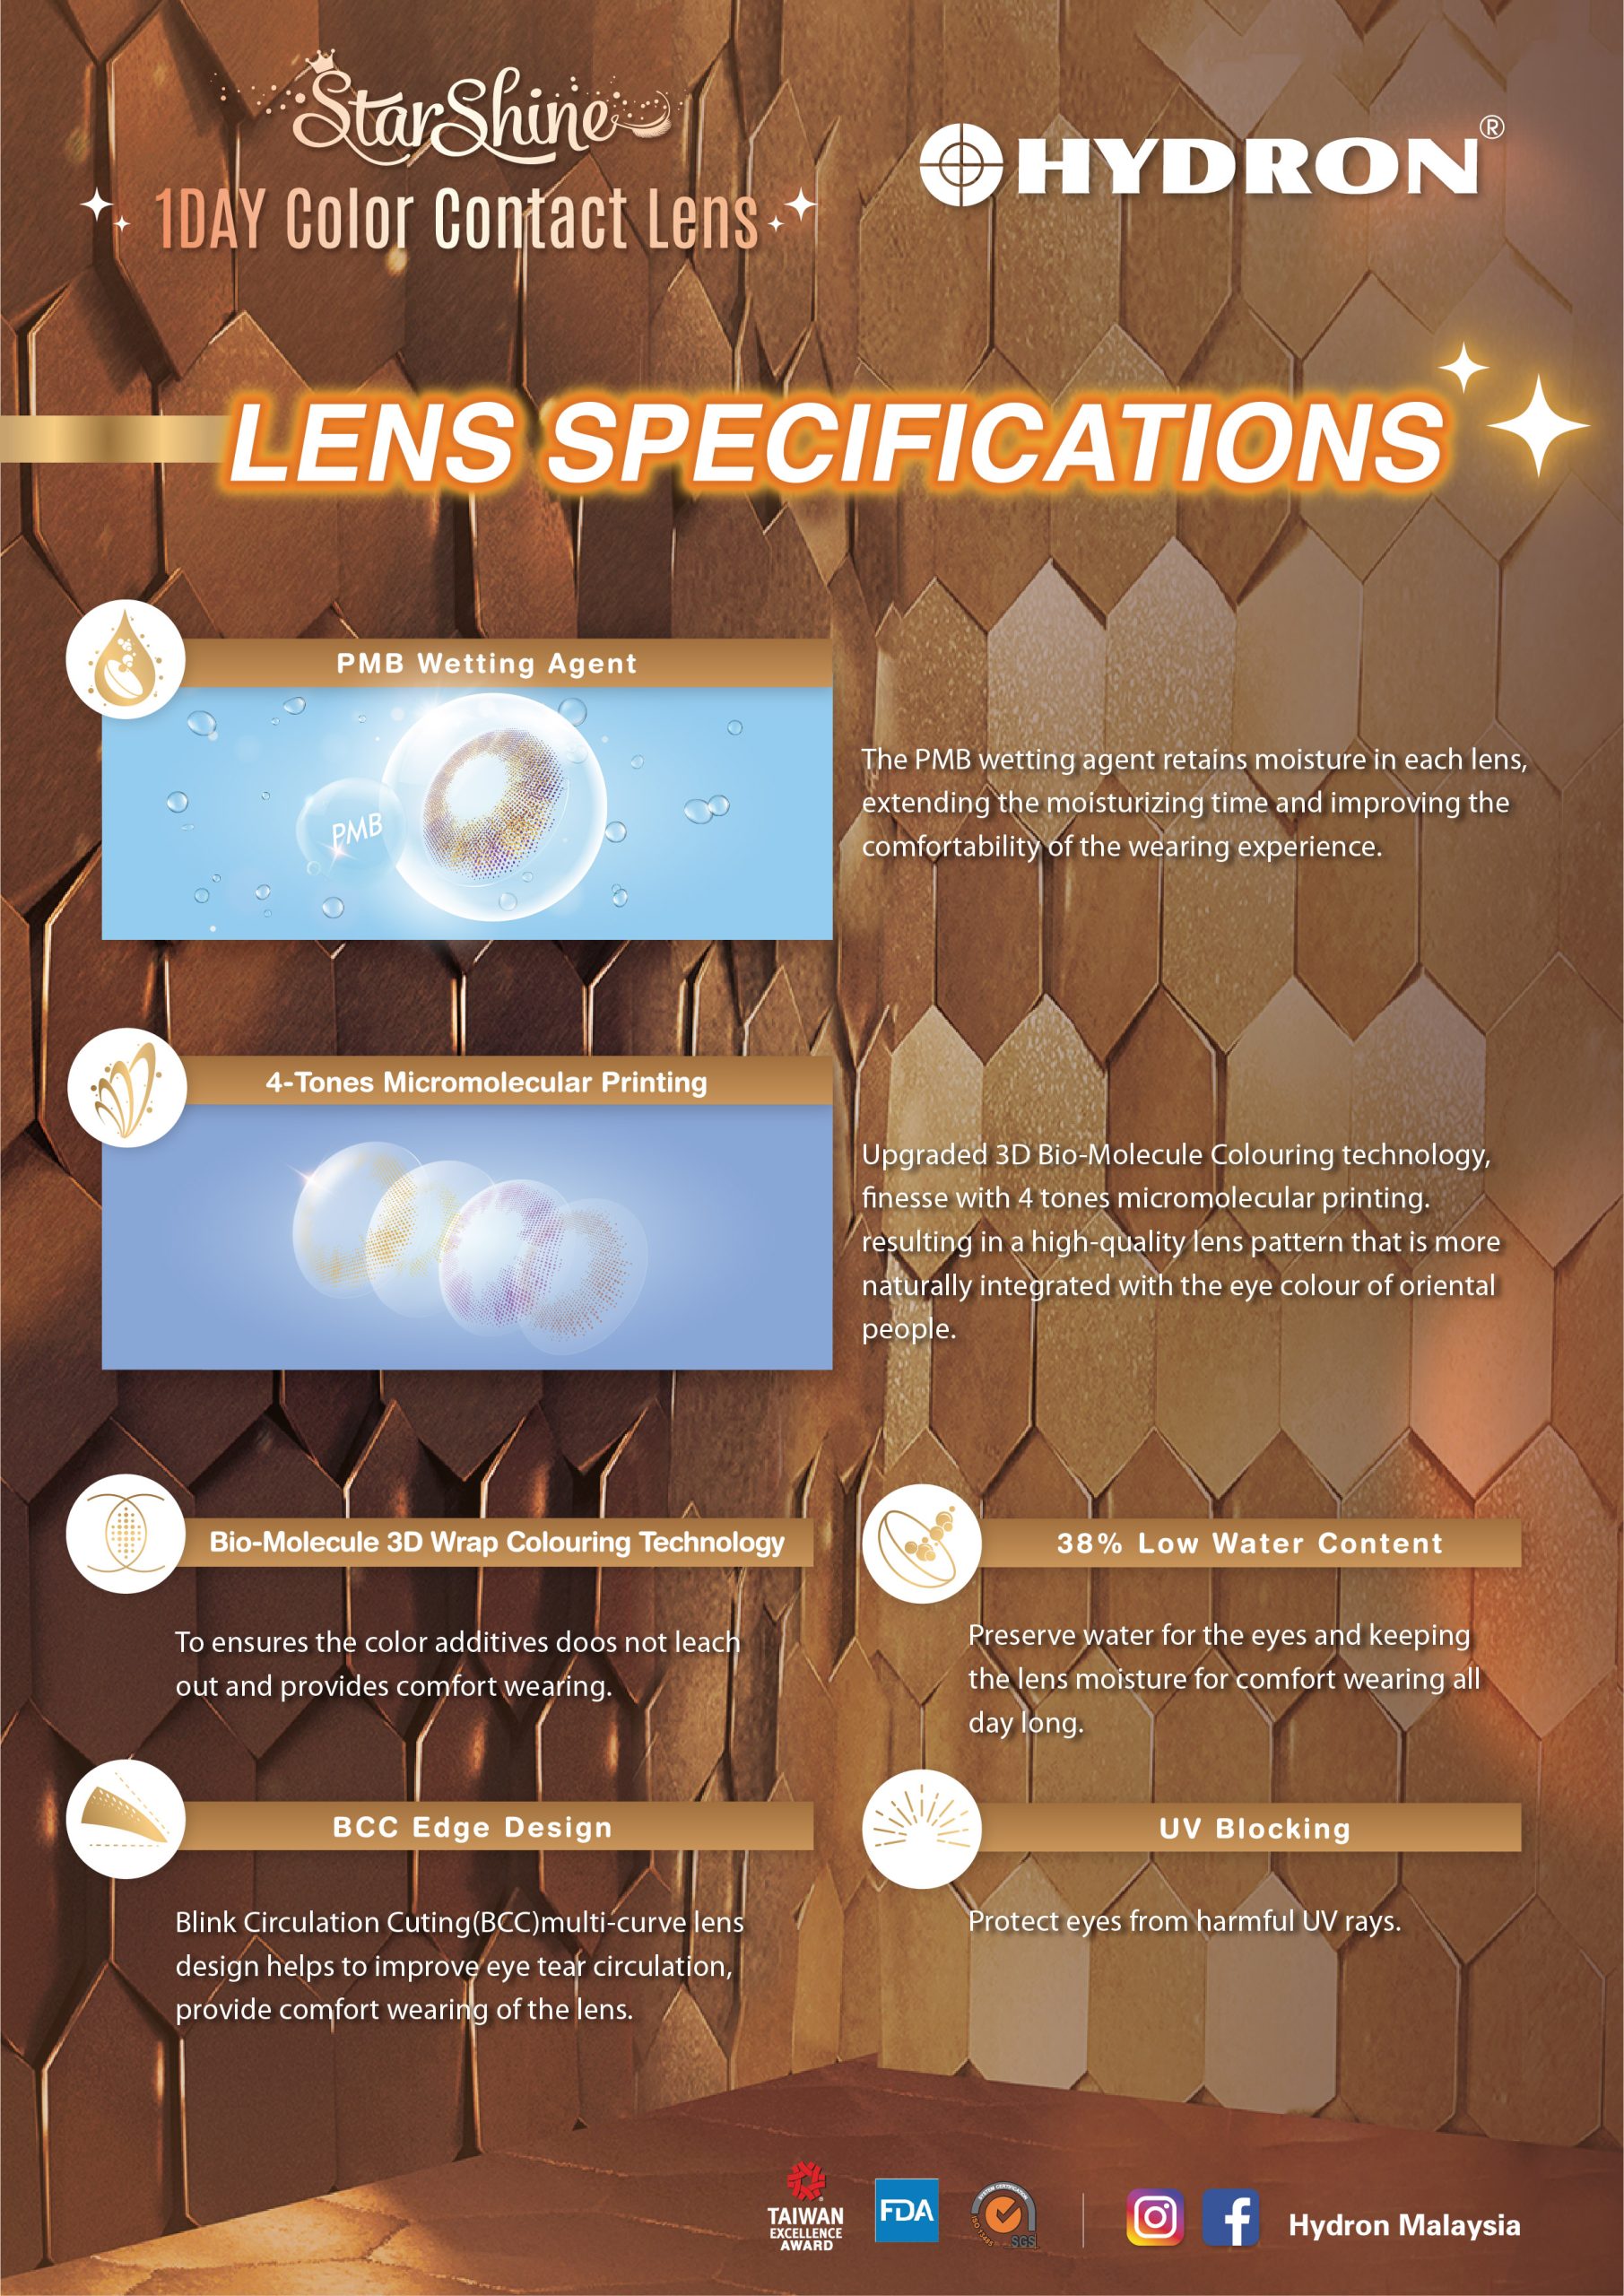
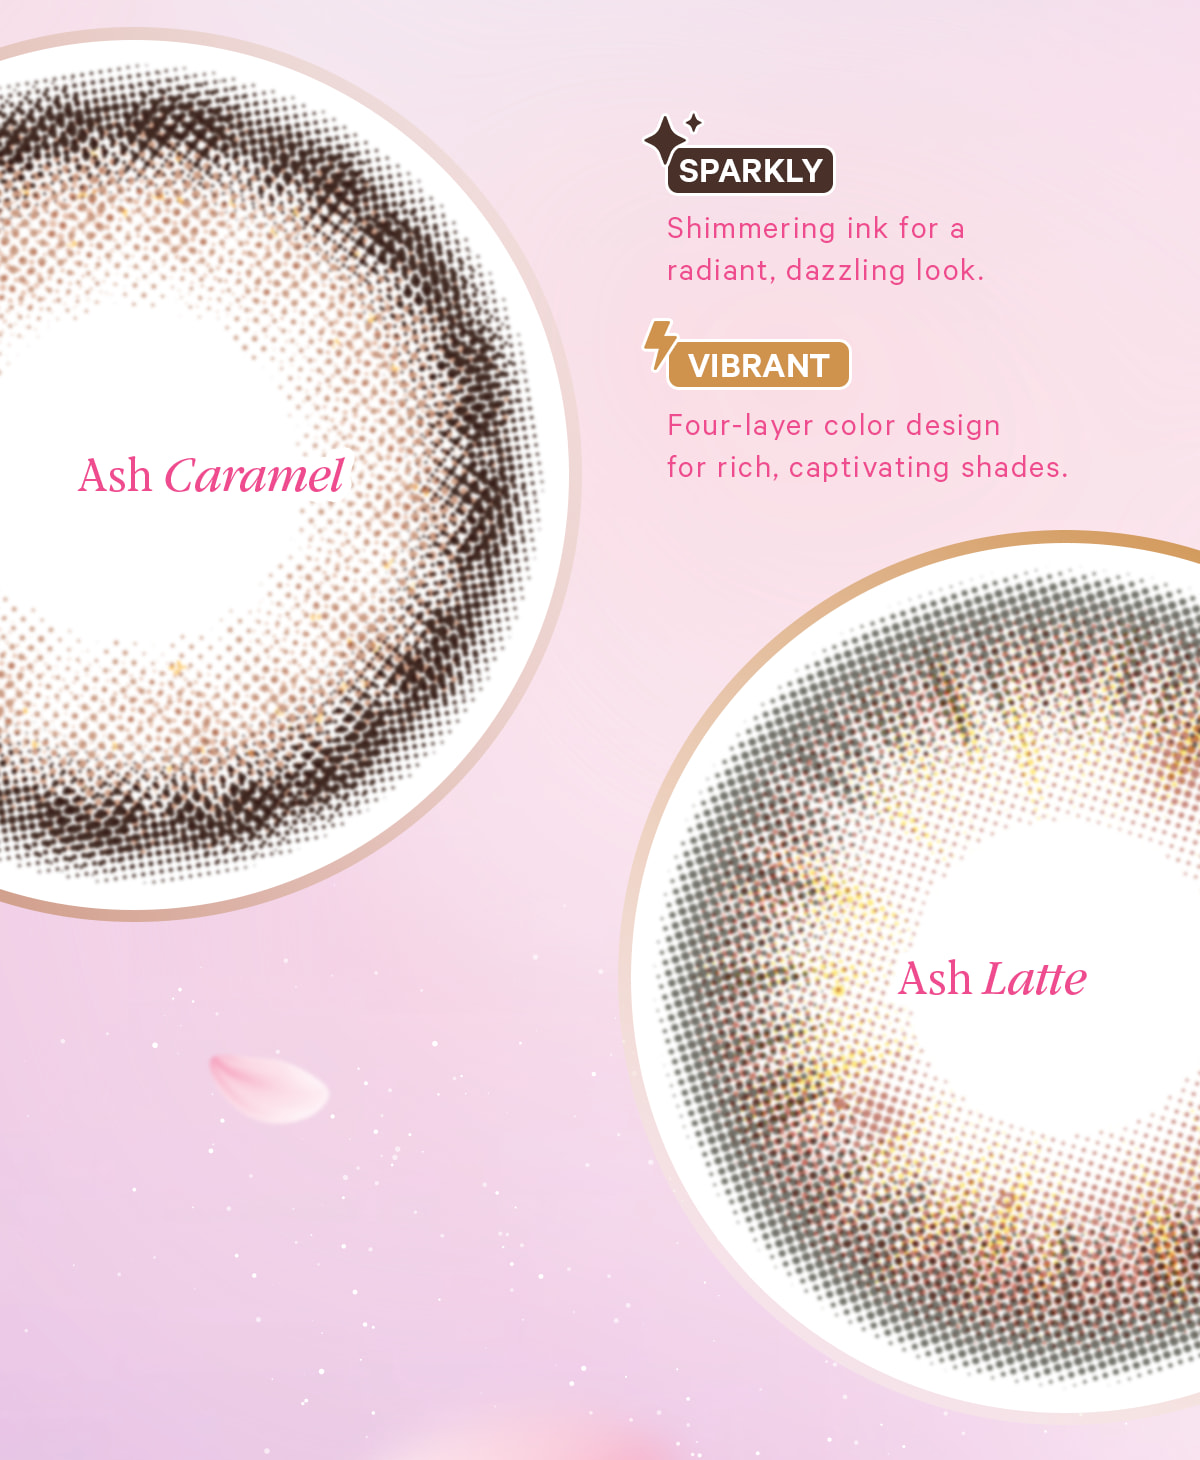
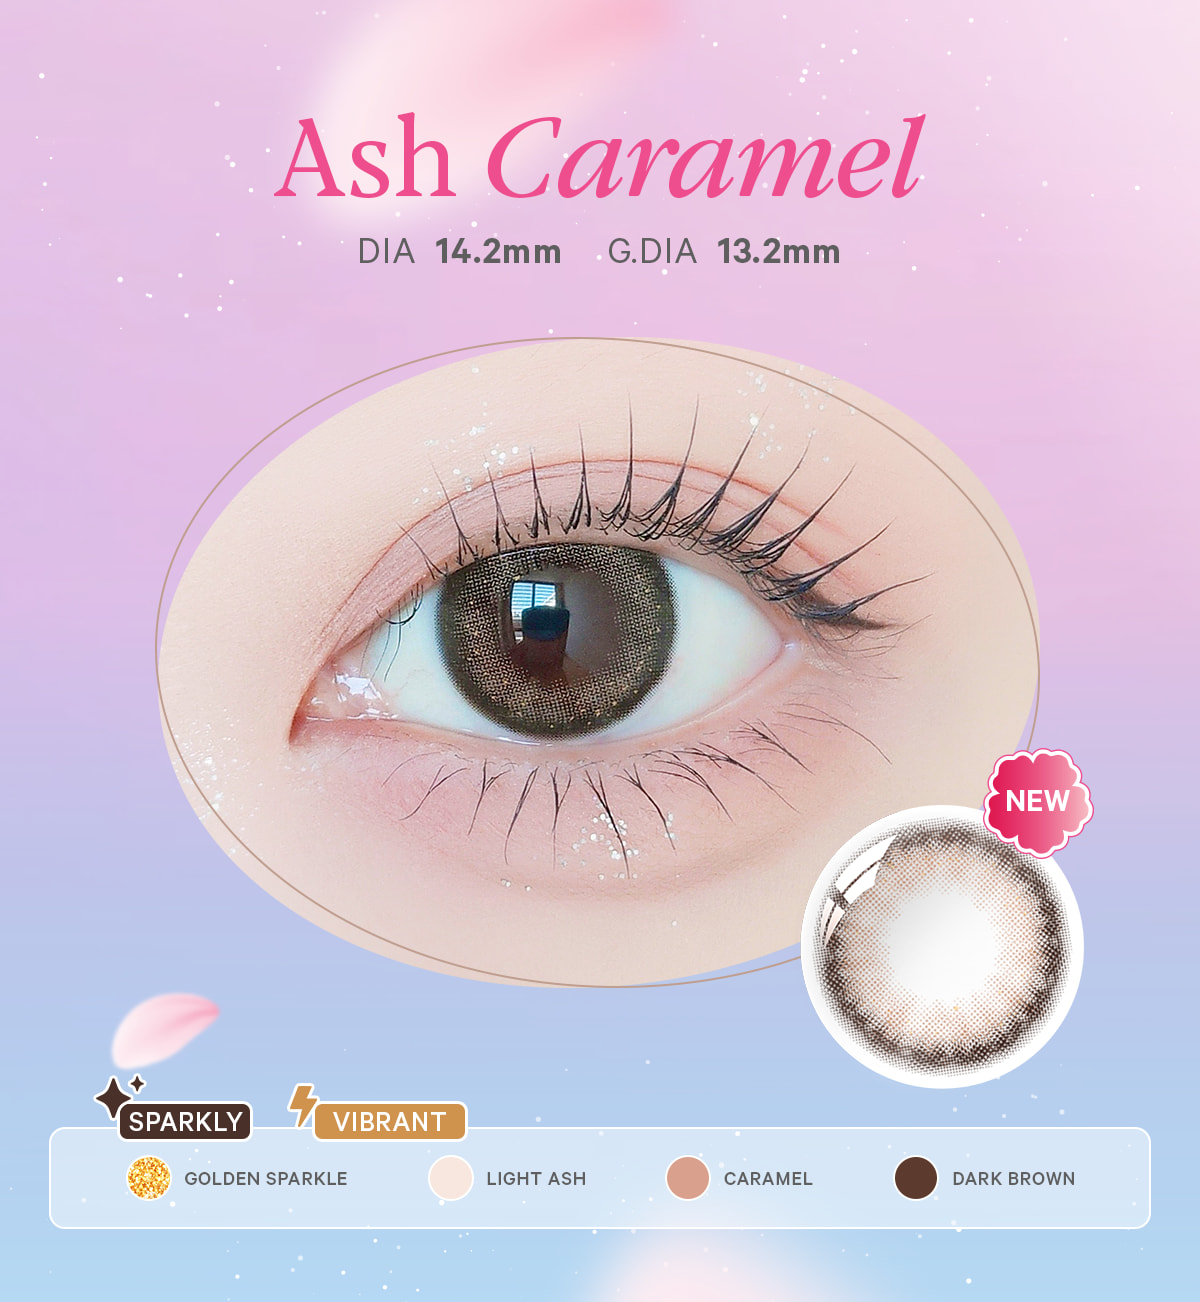
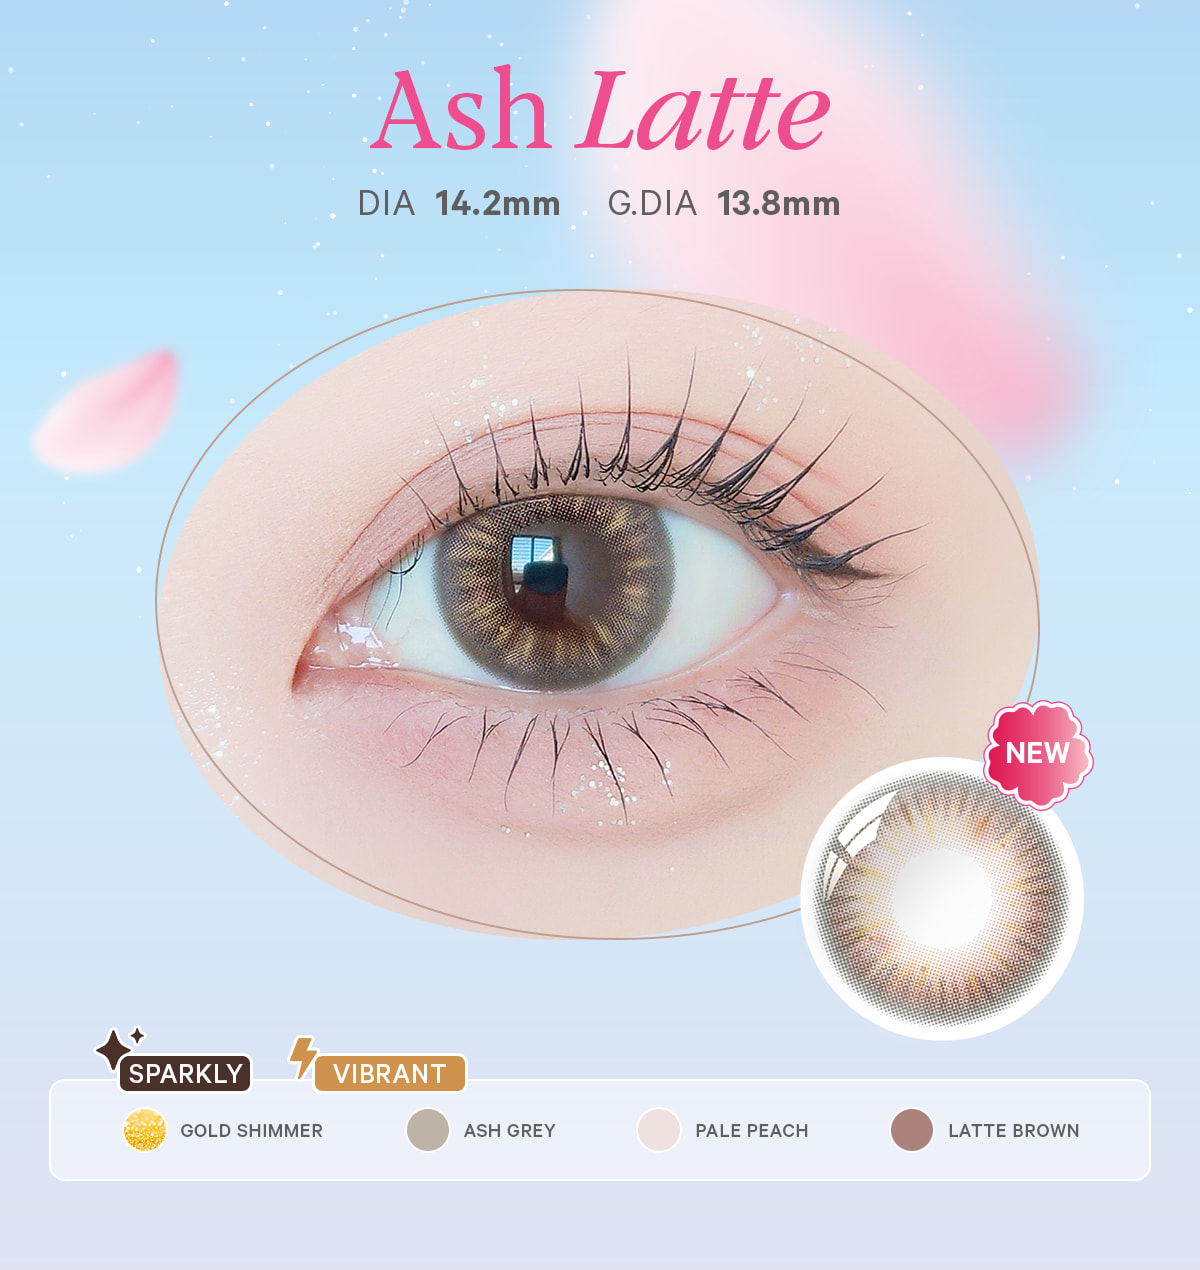
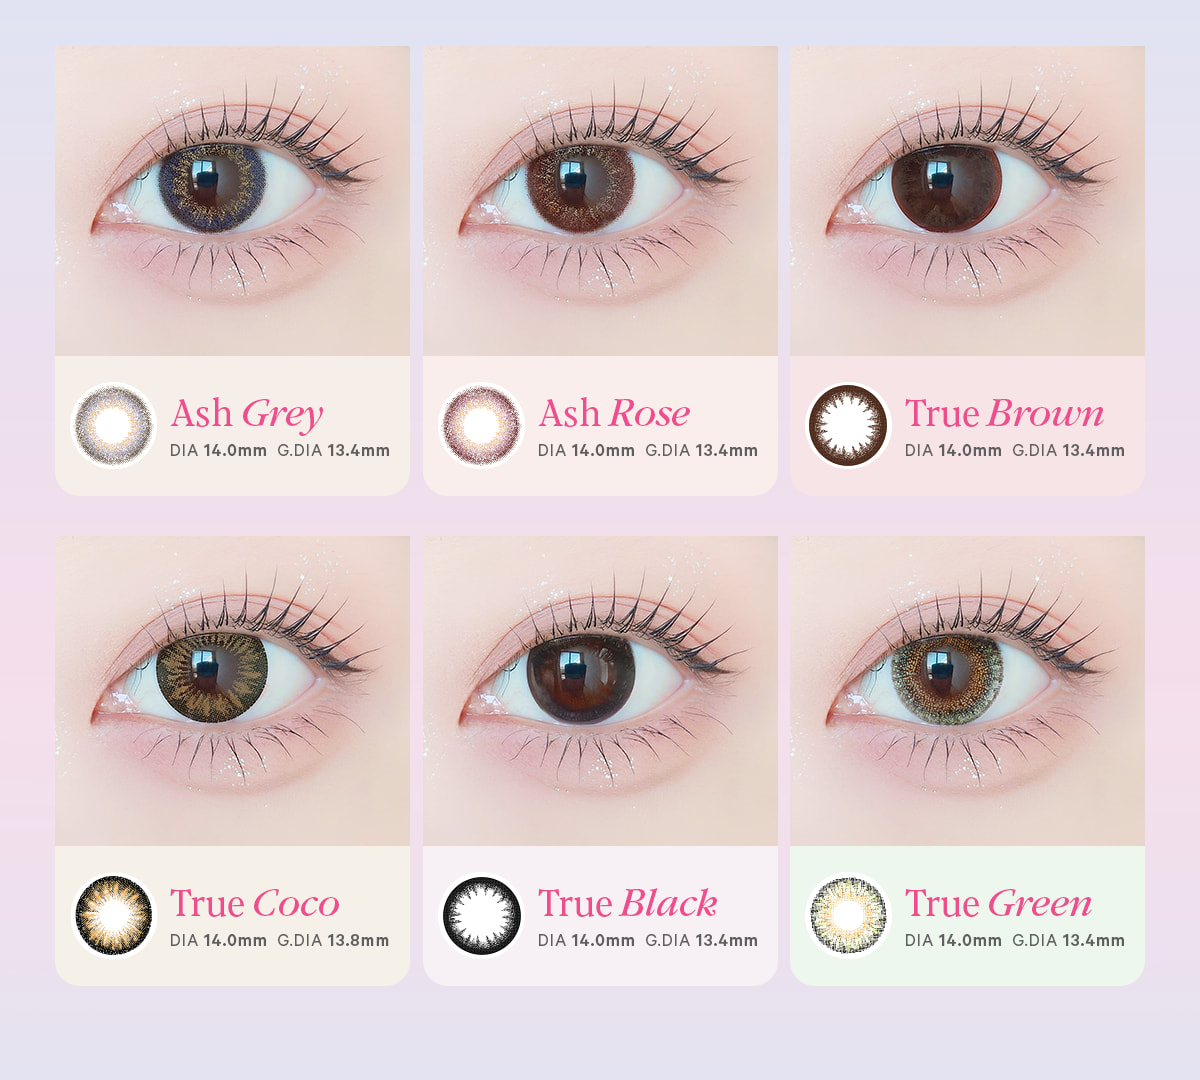
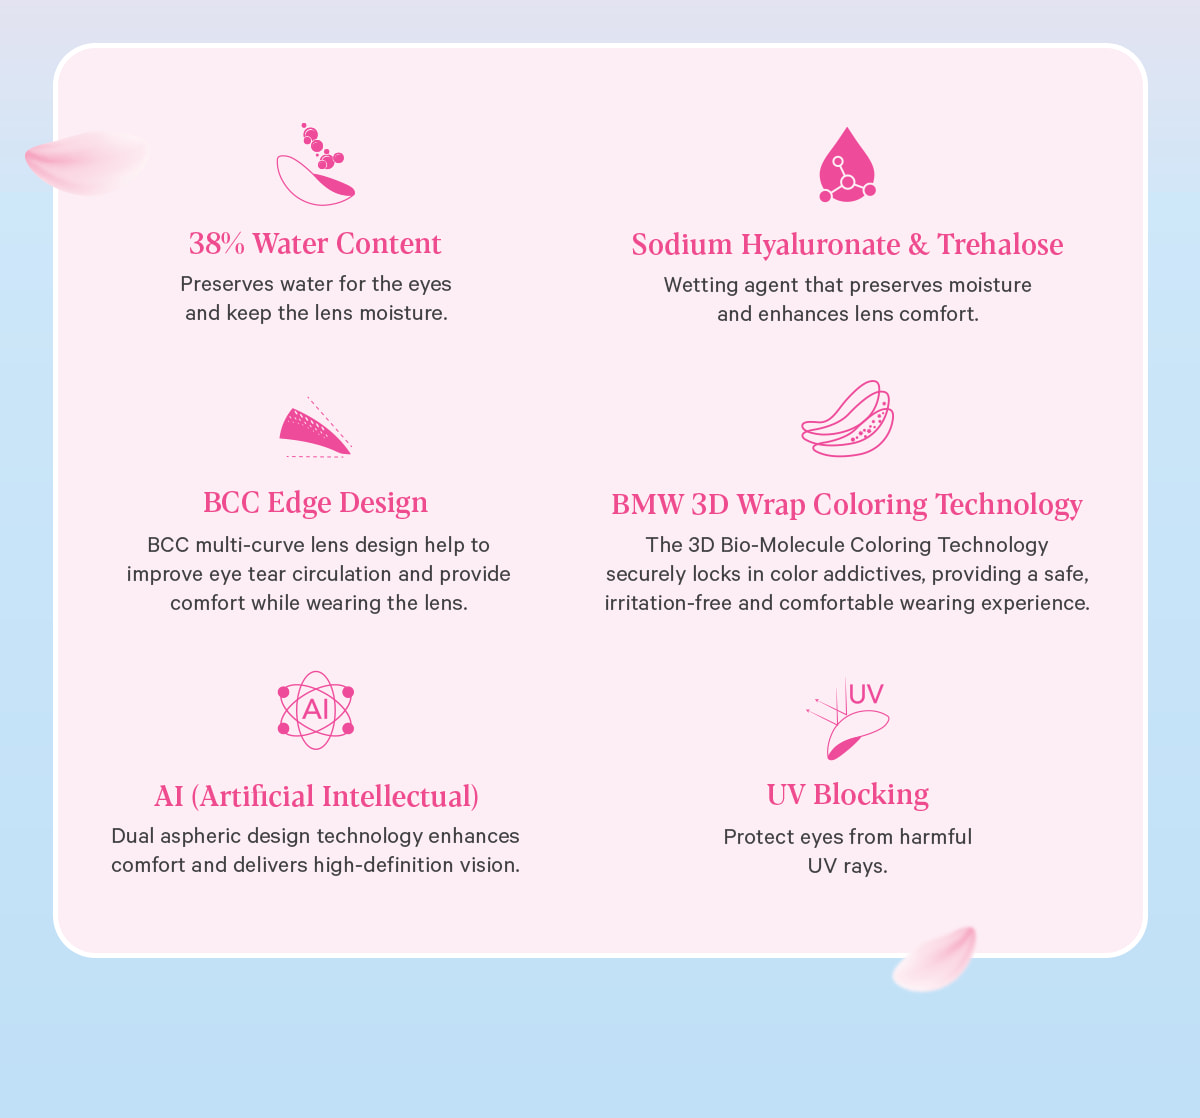
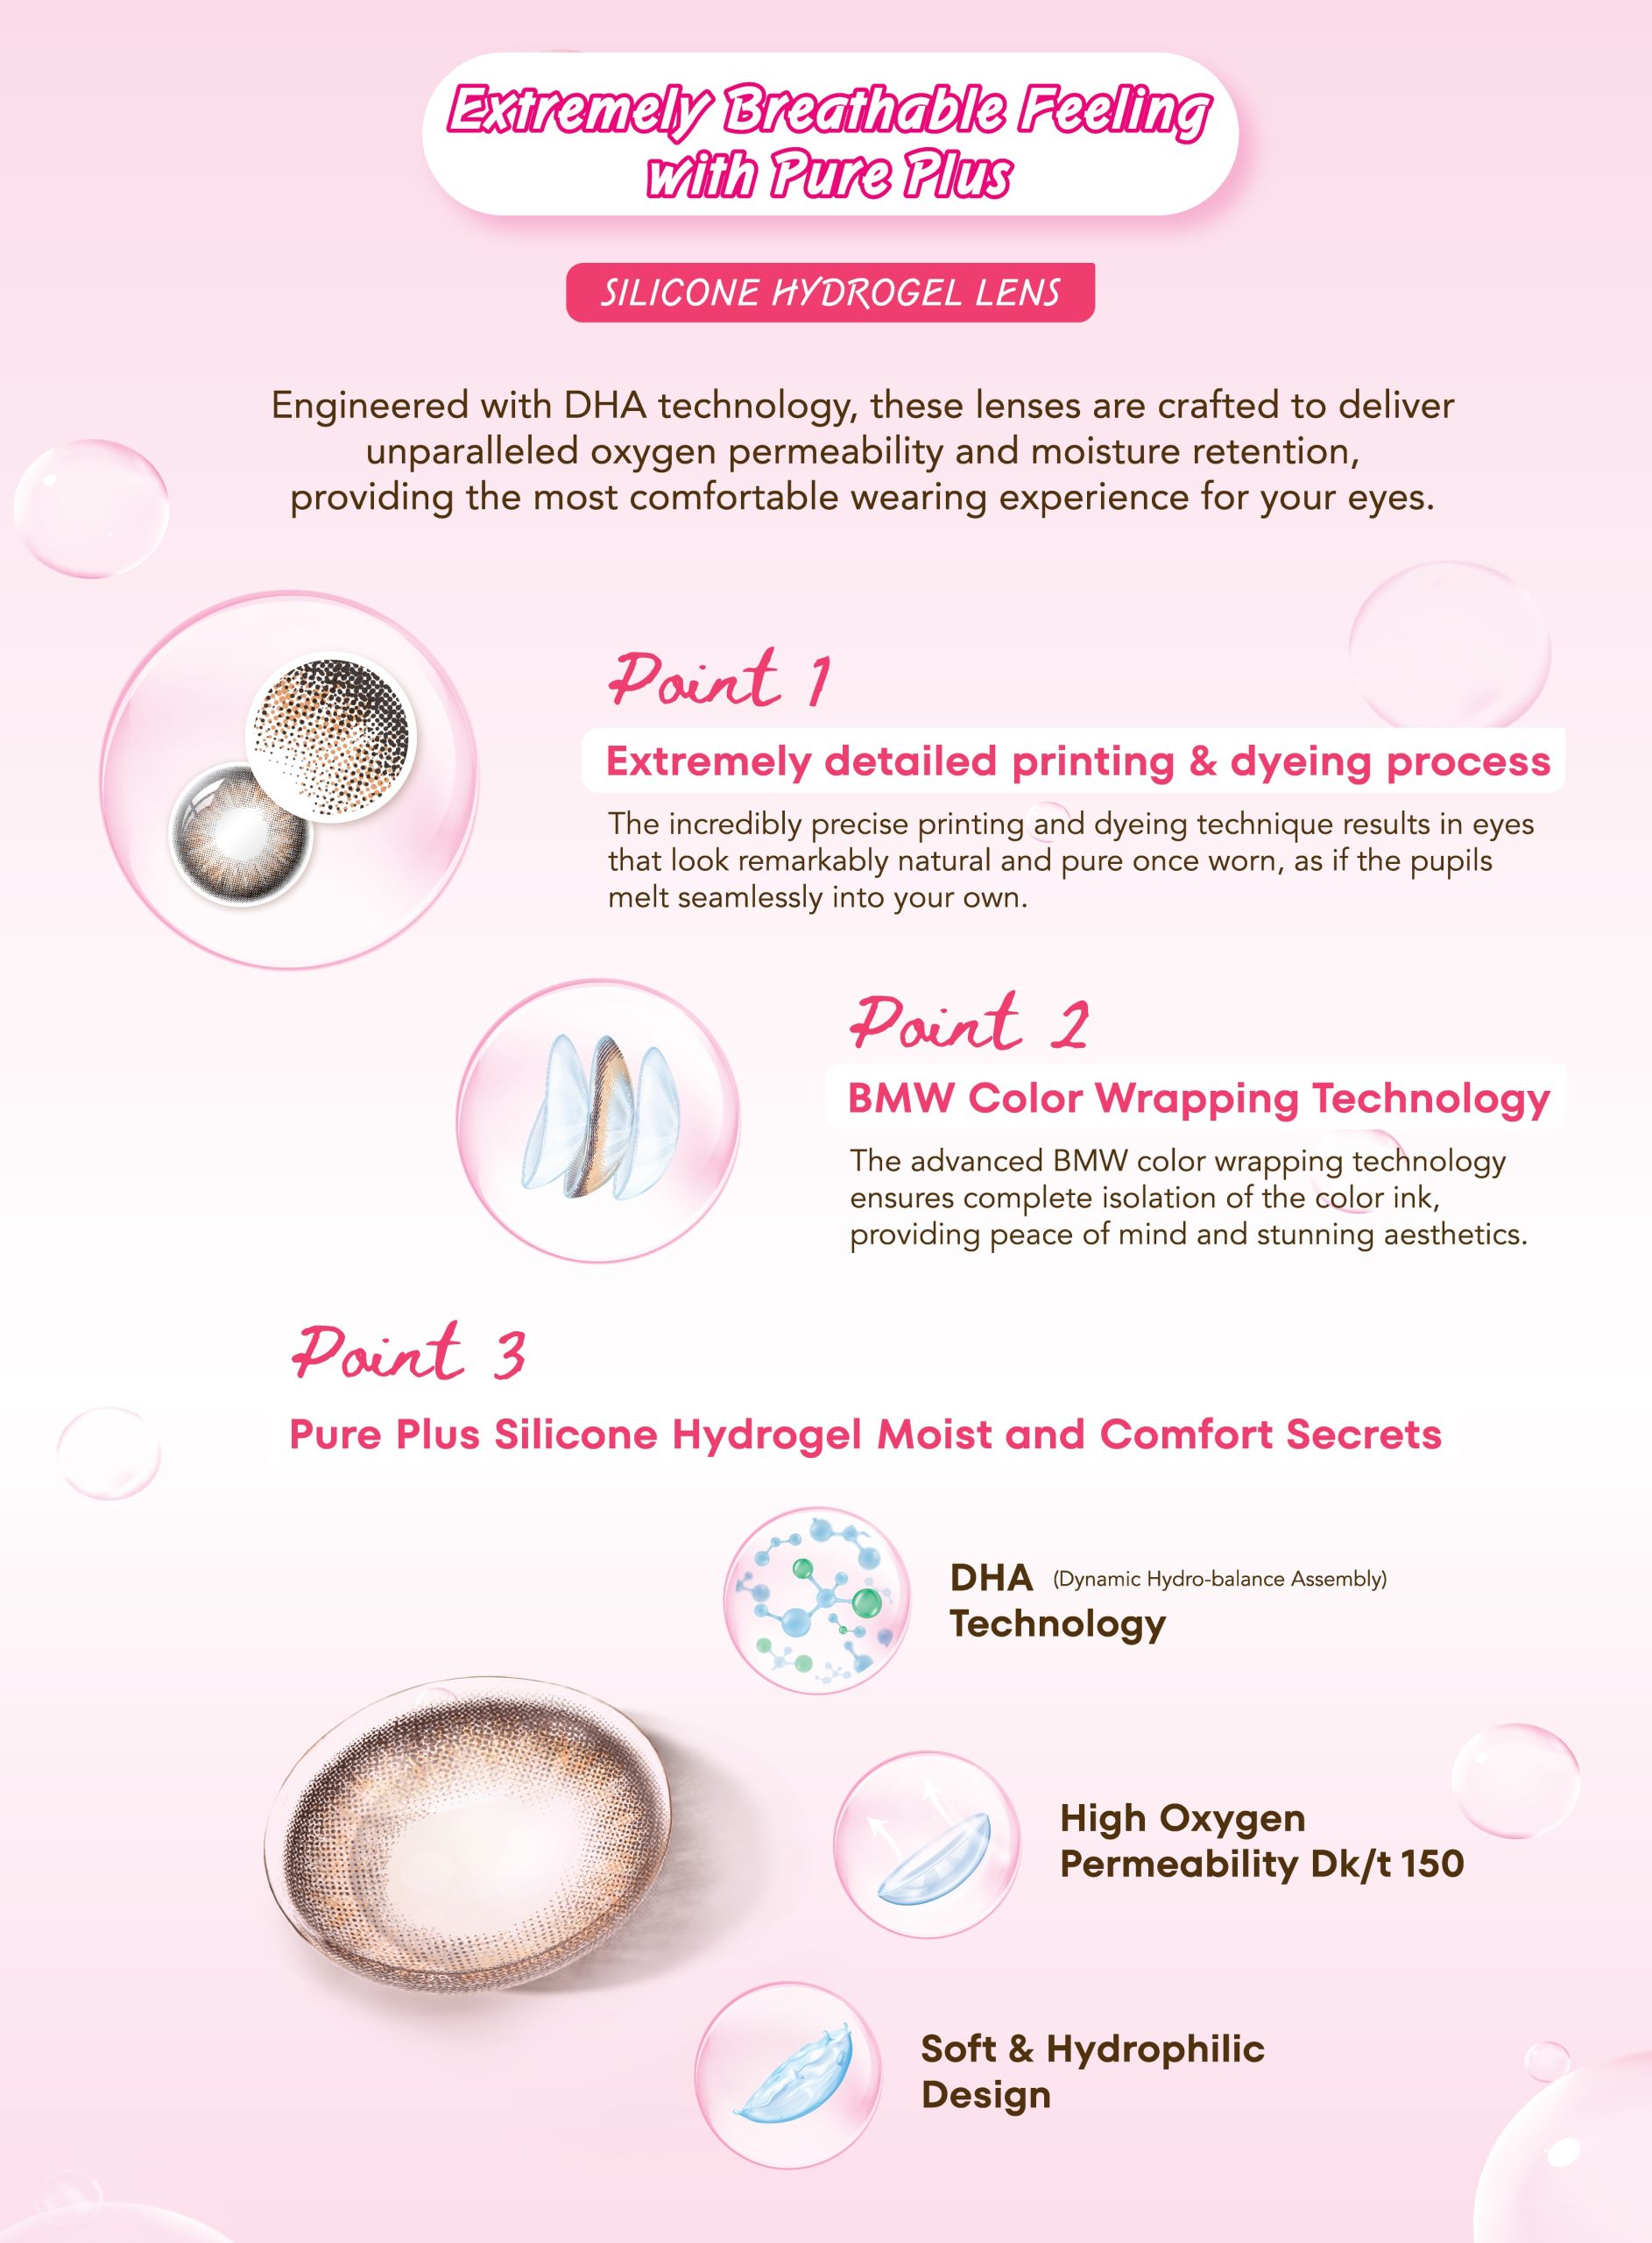
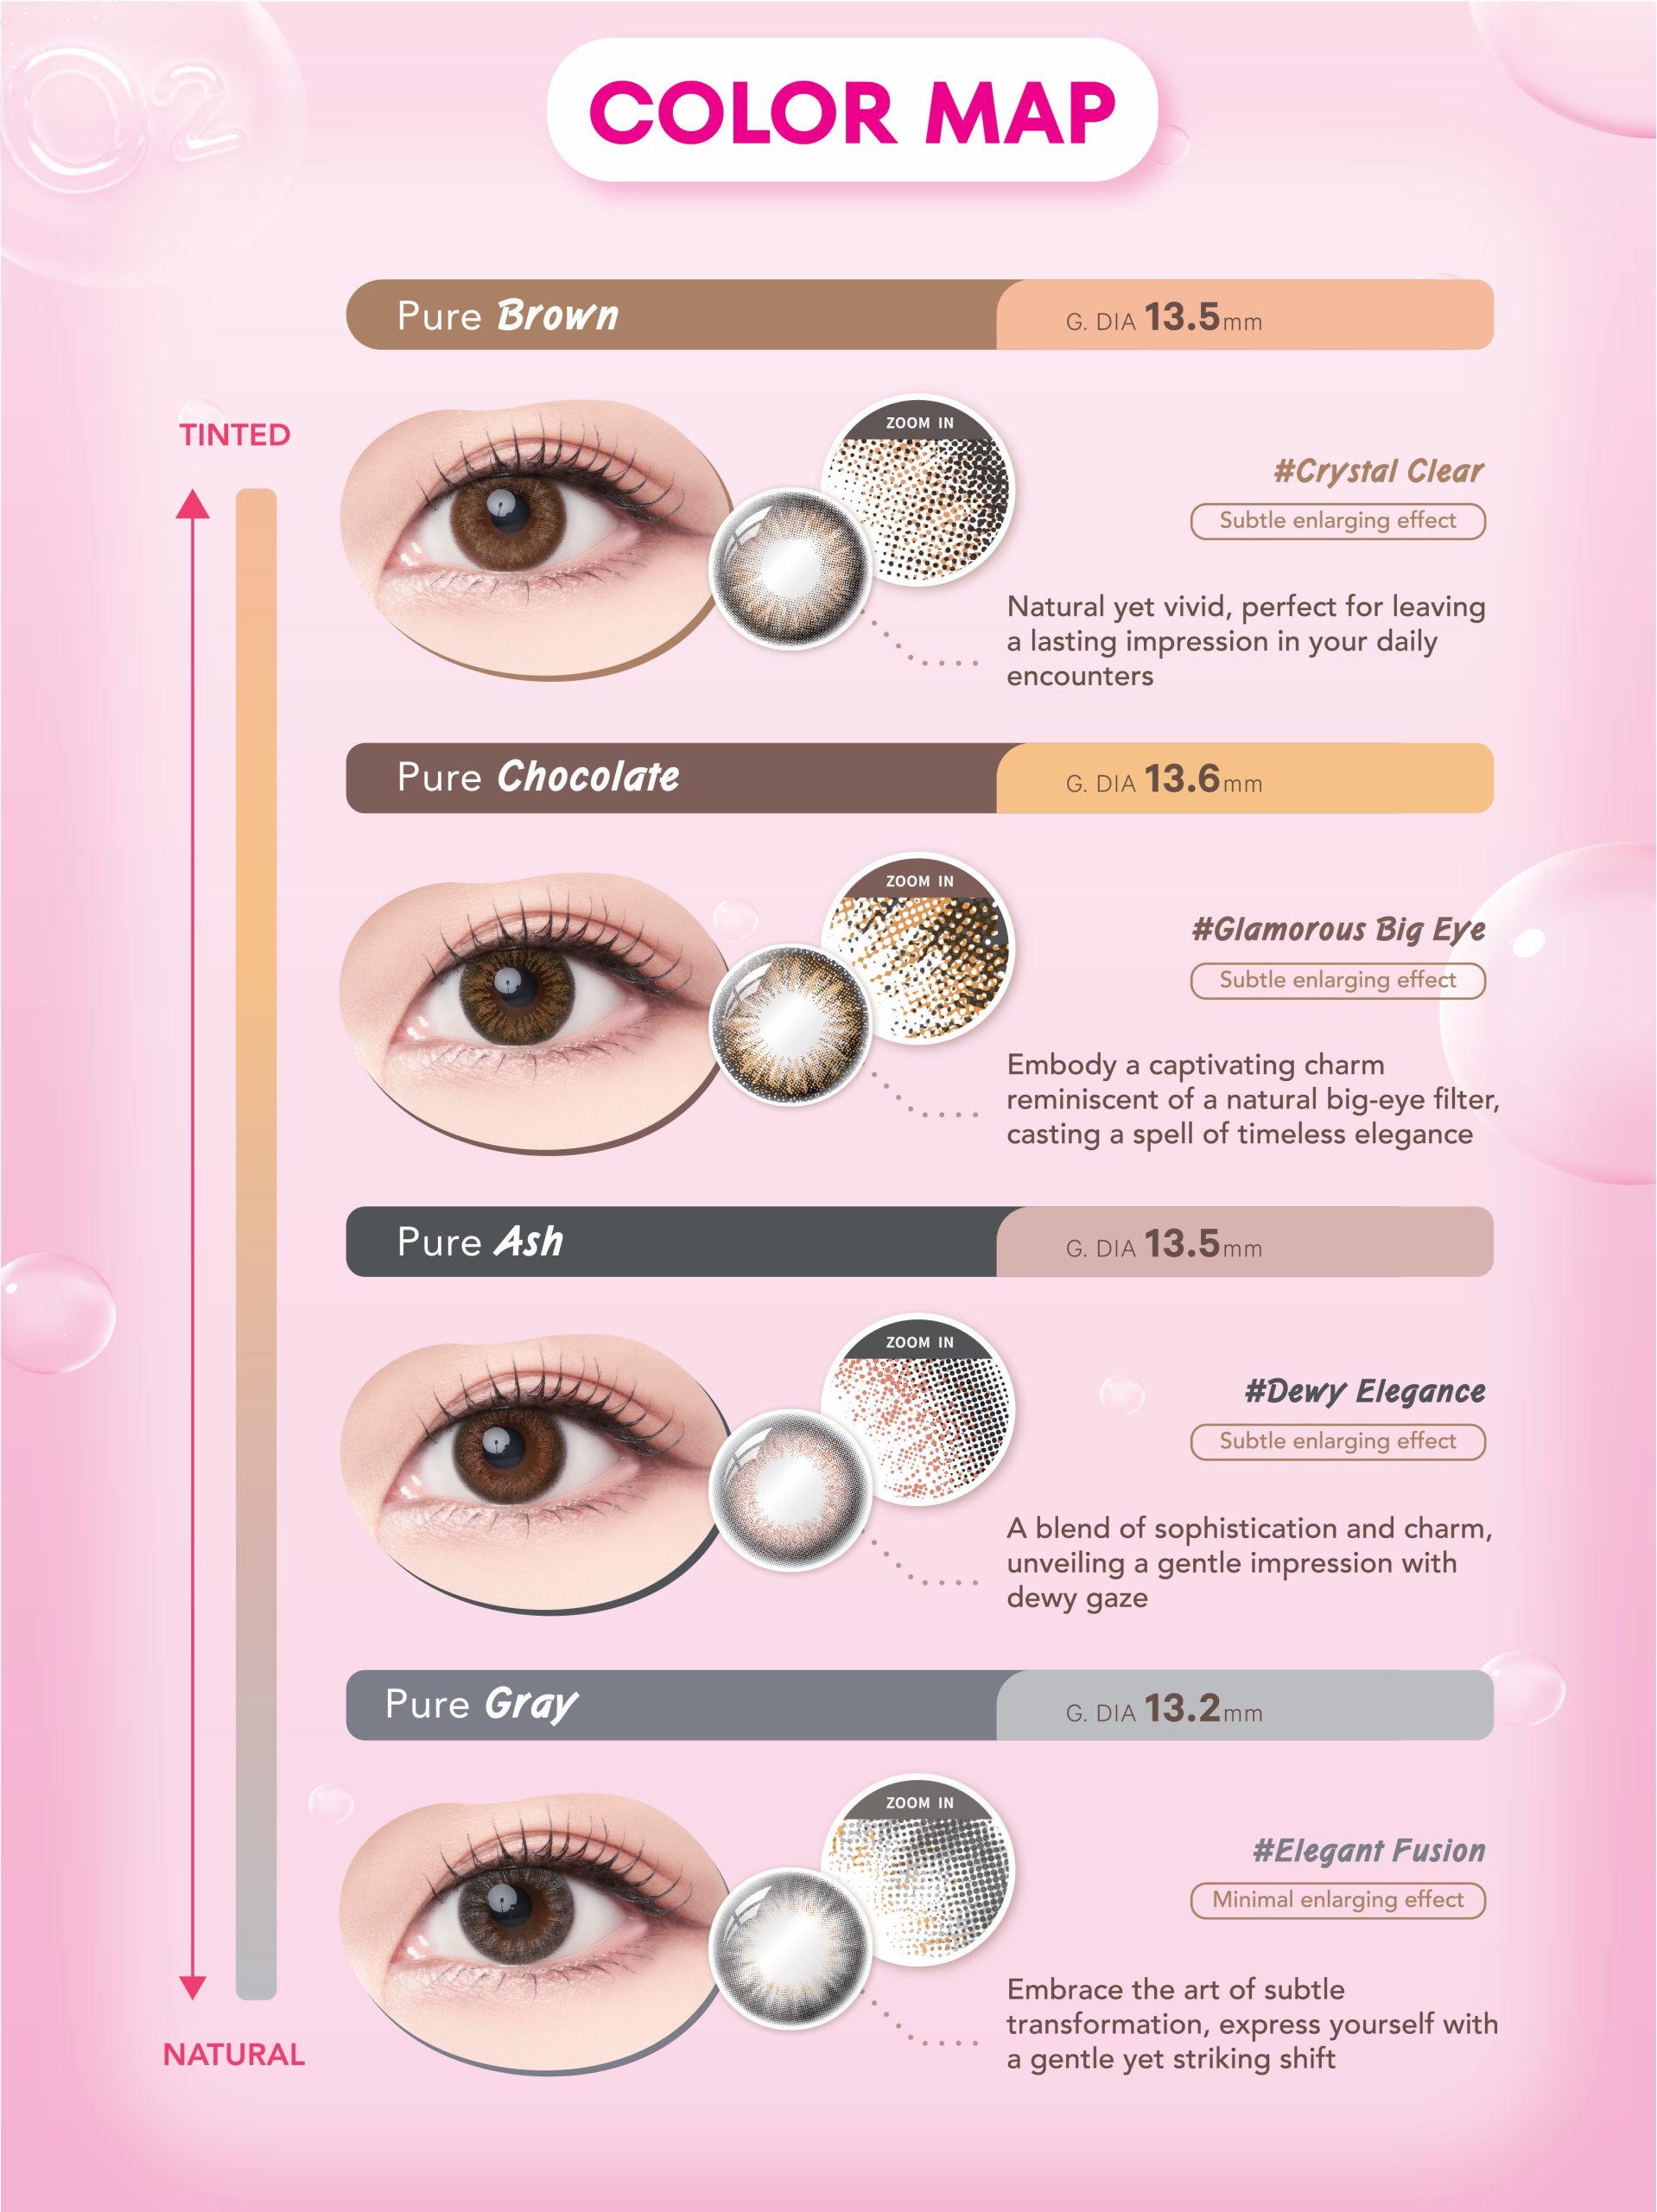
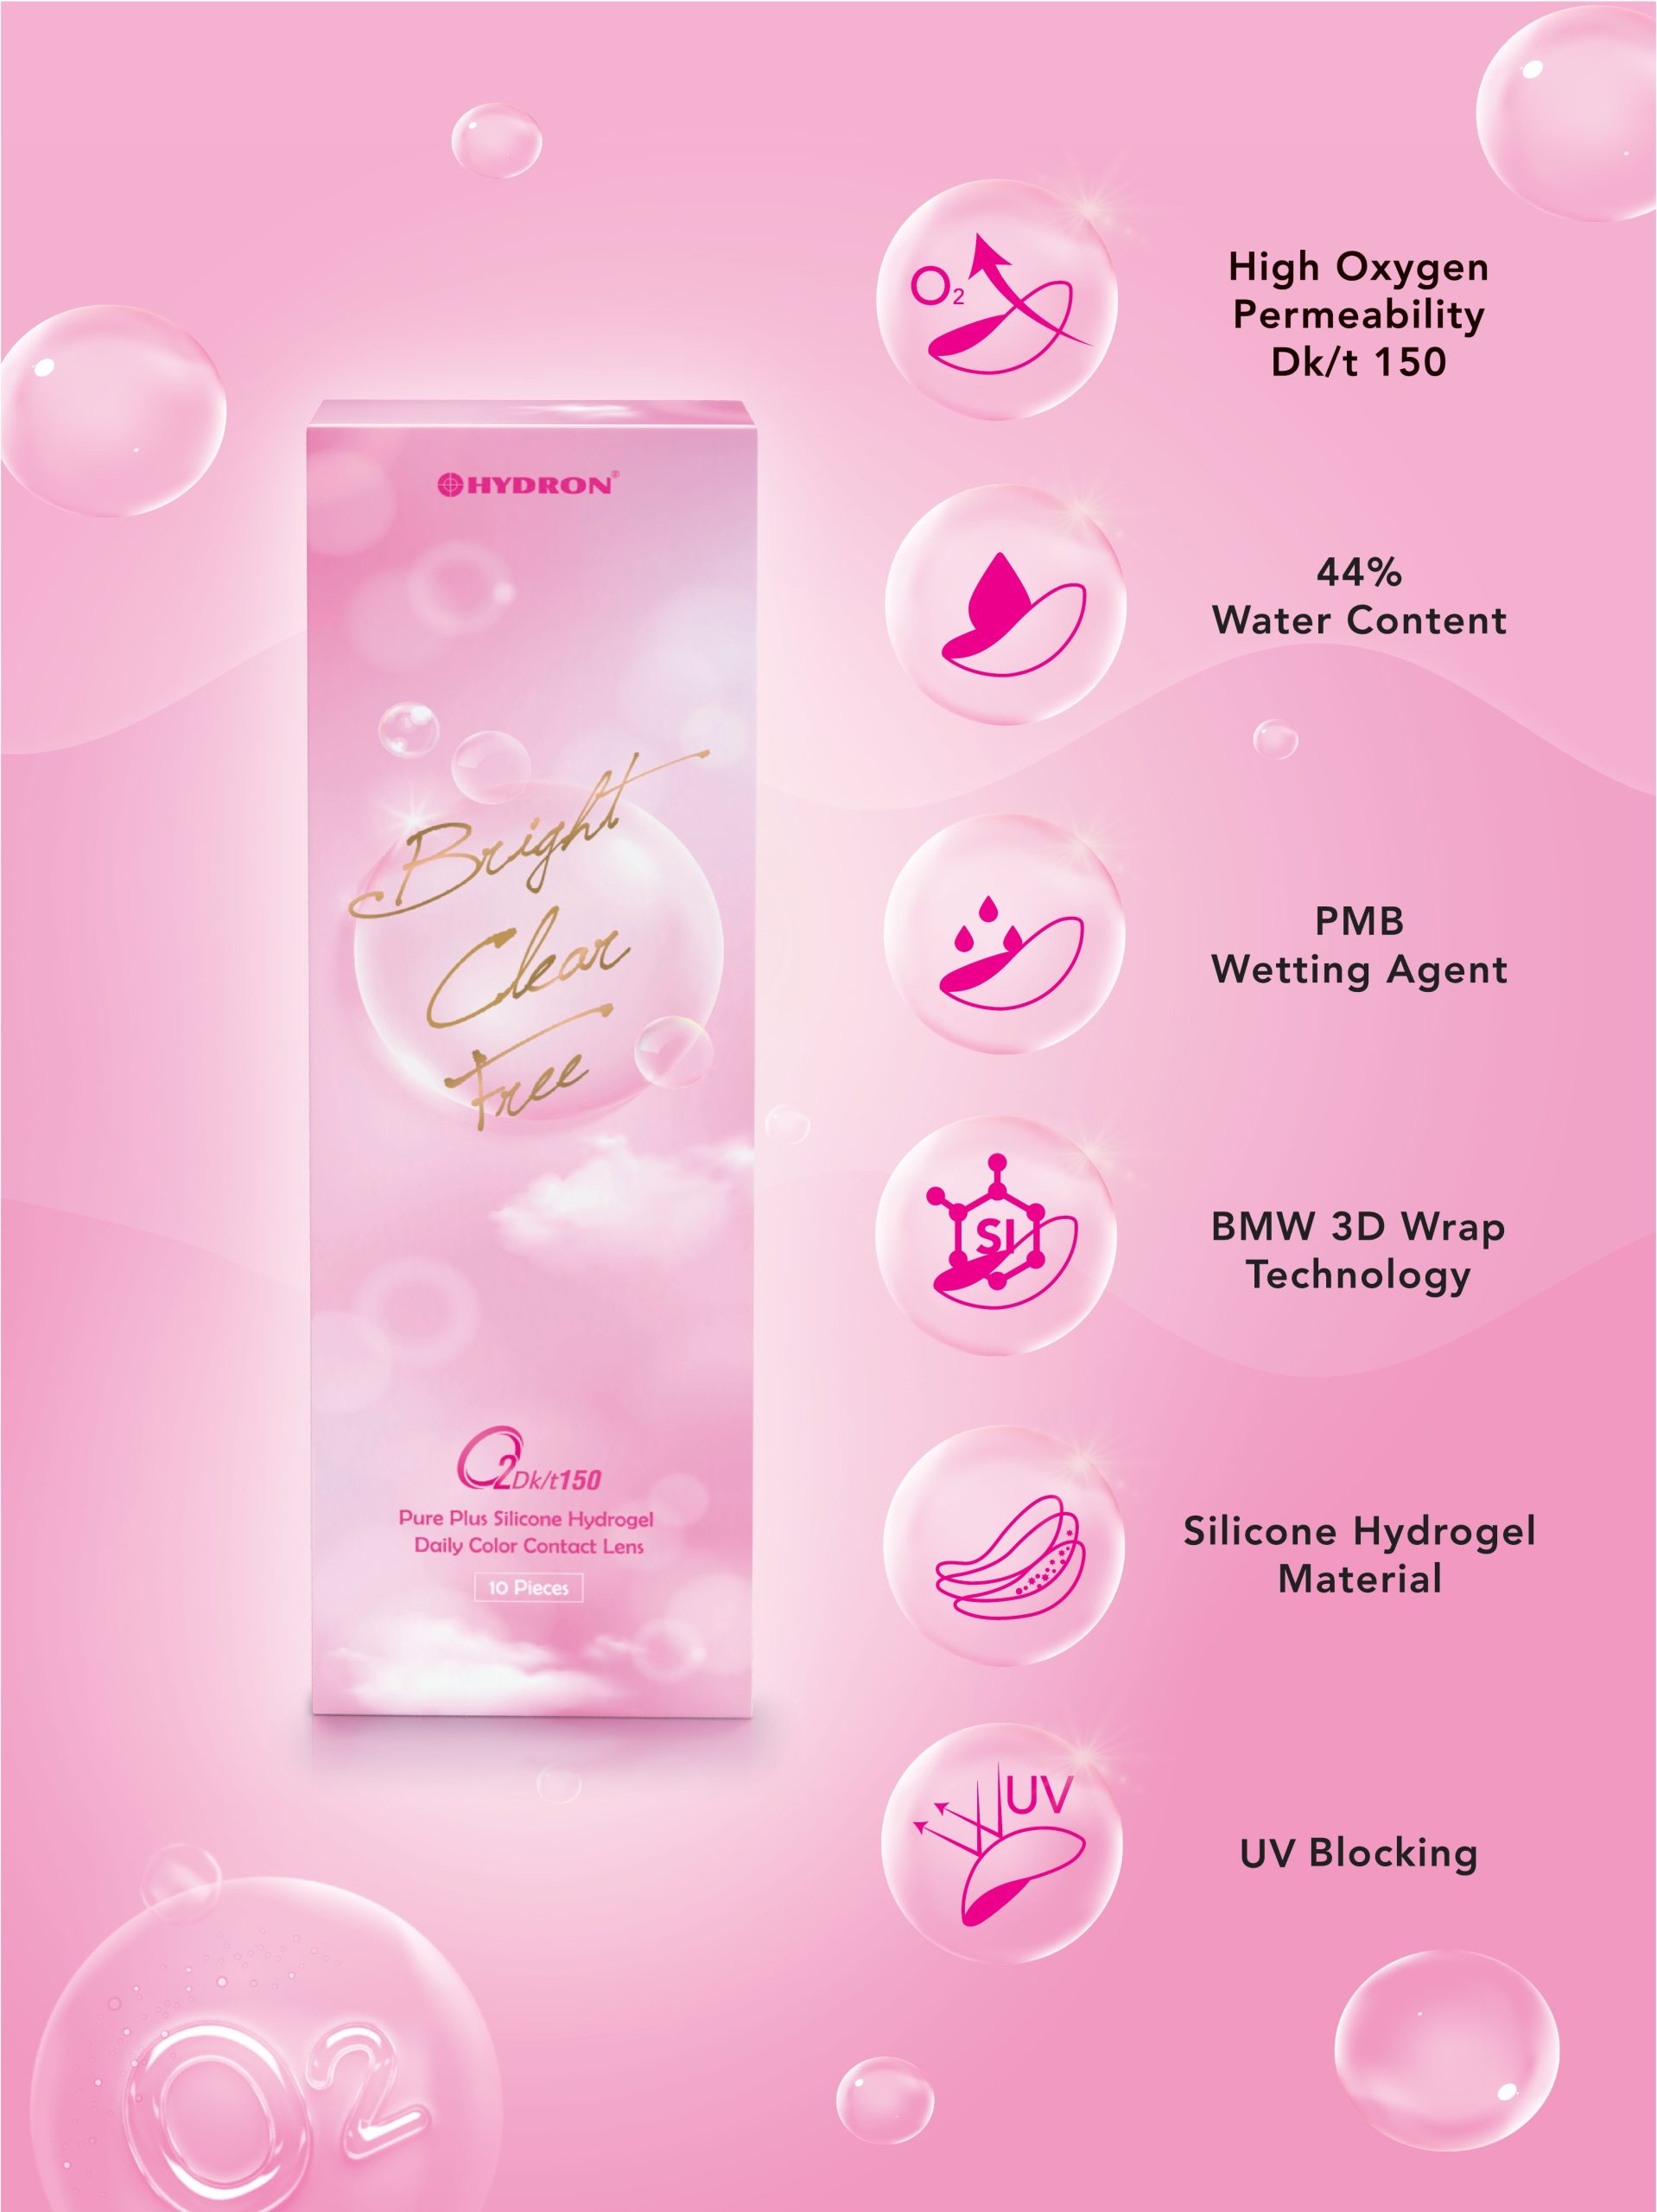
Hydron Pure Plus Silicone Hydrogel 1Day Color Contact Lens 10pcs / box
| Modality | Daily |
| Material | Silicone Hydrogel : Otufilcon A |
| Oxygen Permeability | Dk/t 150 |
| Water Content | 44% |
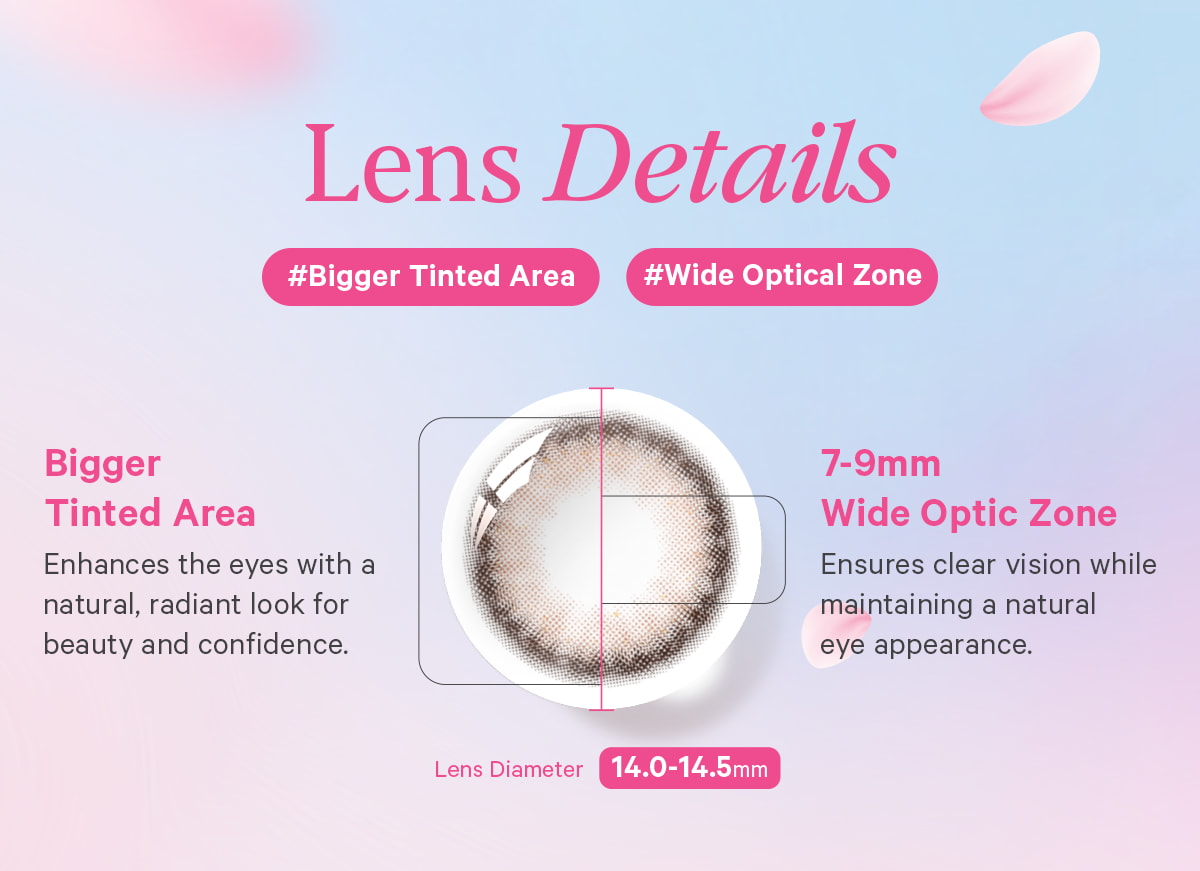
| DIA/BC | 14.2mm/ 8.7mm |
| Wetting Agent | PMB |
| UV Blocking | Yes |
| Power Range | 0.00D, -1.00D to -6.00D (0.25D steps), -6.50D to -8.00D (0.50D steps), |
| MDA Registration Number | GB2755423-130816 |
| Packaging | 10 pieces / box |

Instruction of Use
To condition, wear and remove lenses, complete these following steps.
Wearing Contact Lens
Step 1: Thoroughly wash and dry your hands with soap and a clean towel.
Step 2: Rinse your lens with solution to remove any trace of debris. l Tip: To avoid mixing up your lenses, always apply and remove the lens for your RIGHT eye first.
Step 3: Place the lens on the top of your index finger. Be sure the lens is correctly oriented by checking the inside-out marker.
Step 4: Use your other hand to hold your upper eyelid so you won’t blink.
Step 5: Pull down your lower eyelid with the other fingers of your applying hand.
Step 6: Look up at the ceiling and gently place the lens on the lower part of your eye.
Step 7: Slowly release your eyelid and close your eye for a moment.
Step 8: Blink several times to center the lens. You’re all set.
Step 9: If your lens feels uncomfortable, remove it and inspect for damage or debris. If it’s damaged, discard it. Otherwise, rinse with more solution and reapply.
Removing Contact Lens
Step 1: Thoroughly wash and dry your hands with soap and a clean towel.
Step 2: Look up at the ceiling and pull down your lower eye lid. l Tip: To avoid mixing up your lenses, always apply (and remove) them in the same order.
Step 3: Bring your index finger close to your eye until you touch the lower edge of the lens.
Step 4: Slide the lens down to the lower white part of your eye.
Step 5: Gently squeeze the lens between your thumb and index finger and remove it.
Step 6: Remove the other lens following the same procedure.
Contraindications (reasons not to use)
Do not use the lens when any of the following conditions exist:
- Acute and subacute inflammation or infection of the anterior chamber of the eye.
- Any eye disease, injury, or abnormality that affects the cornea, conjunctiva, or eyelids.
- Severe insufficiency of lacrimal secretion (dry eyes). l Corneal hypoesthesia (reduced corneal sensitivity), if not aphakic.
- Any systemic disease that may affect the eye or be exaggerated by wearing contact lenses. l Allergic reactions of ocular surfaces or adnexa that may be induced or exaggerated by wearing contact lenses or use of contact lens solutions.
- Allergy to any ingredient, such as mercury or thimerosal, in a solution, which is to be used to care for any lens.
- Any active corneal infection (bacterial, fungal, or viral). If eyes become red or irritated.
Warnings
Patients should be advised of the following warnings pertaining to contact lens wear:
- Problems with contact lenses and lens care products could result in serious injury to the eye. It is essential that patients follow their eye care professional’s directions and all labelling instructions for proper use of lenses and lens care products, including the lens case.
- Eye problems, including corneal ulcers can develop rapidly and lead to loss of vision. The risk of ulcerative keratitis has been shown to be greater among users of extended wear contact lenses than among users of daily wear contact lenses. The risk increases with the number of consecutive days that the lenses are worn between removals, even with the first overnight use.
- Daily wear lenses are not indicated for overnight wear and patients should be instructed not to wear lenses while sleeping.
- Studies have shown that contact lens wearers who are smokers have a higher incidence of adverse reactions than nonsmokers.
- If a patient experiences eye discomfort, excessive tearing, vision changes, or redness of the eye, the patient should be instructed to immediately remove the lenses and promptly contact his or her eye care professional.
Precautions
Special Precautions for Eye Care Practitioners
- The eye care practitioner should consider all characteristics of the lens that can affect lens performance and ocular health, including oxygen permeability, wettability, central and peripheral thickness, and optic zone diameter.
- The potential impact of these factors on the patient’s ocular health should be carefully weighed against the patient’s need for refractive correction; therefore, the continuing ocular health of the patient and lens performance on the eye should be carefully monitored by the prescribing eye care practitioner.
- Aphakic patients should not be fitted with any contact lenses until the determination is made that the eye has healed completely.
- Fluorescein, a yellow dye, should not be used while the lenses are on the eyes. The lenses absorb the dye and become discolored. Whenever fluorescein is used in the eyes, the eyes should be flushed with a sterile saline solution that is recommended for in-eye use.
- Before leaving the eye care practitioner’s office, the patient should be able to promptly remove the lenses or should have someone else available who can remove the lenses for him or her. Eye care practitioners should instruct the patient to remove the lenses immediately if the eye becomes red or irritated.


